My husband and I started a tradition when my daughter was born to plant a garden. Each May, together as a family, we plant a small garden that is full of pesticide-free vegetables. My daughter loves cherry tomatoes so our garden is typically overflowing with them. We also have a lot of cucumbers. I decided to try a different twist on a salad and combine cucumbers and avocado. Let’s just say that my daughter went back for seconds and then thirds. I will definitely be making this recipe again!
![IMG_7496[1]](https://llhealthyfit.com/wp-content/uploads/2016/06/img_74961.png?w=485&h=647)
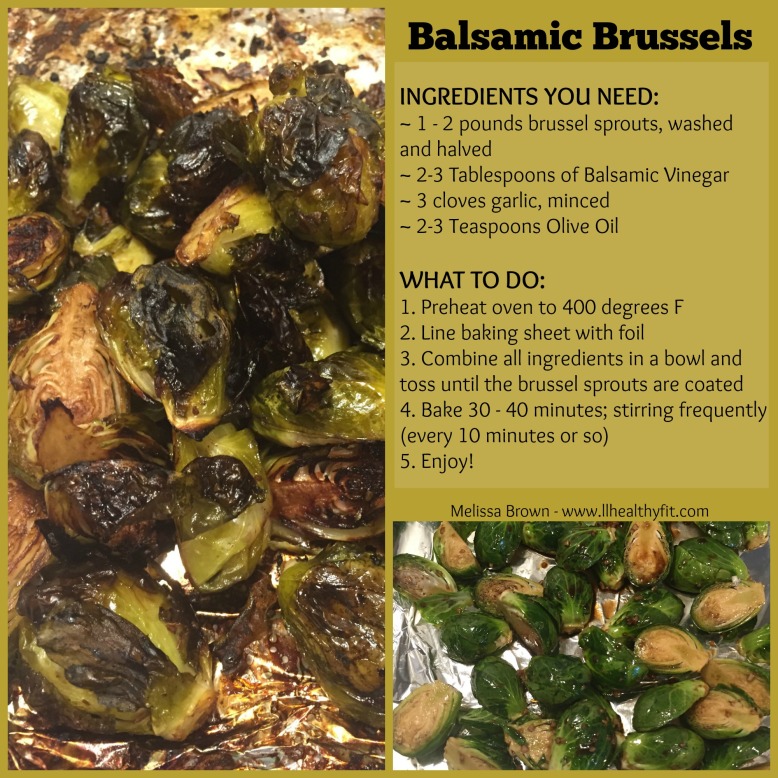
INGREDIENTS YOU NEED:
- Cucumber, diced
- Avocado, diced
- Lime juice, freshly squeezed
- Sea Salt and pepper, to taste
WHAT TO DO:
Toss together the cucumber and avocado in a small bowl. Freshly squeeze the lime (approximately 1 slice) over the mixture and gently toss. Then add the sea salt and pepper. I used one seedless cucumber and one avocado, which makes enough for 2-3 servings. Enjoy!
This recipe can be adjusted to add cherry tomatoes, onion, or fresh cilantro!
Each serving would equate to 1 green (cucumbers) and 1 blue (avocado). It really depends on how much cucumber and avocado you have included in the recipe. 1 cup of cucumbers is equivalent to 1 green container and 1/3 cup of avocado is equivalent to 1 blue container. Remember with the color coded containers, there is no calorie counting. It truly makes getting healthy simple and easy for anyone to follow for the long-term.
The color coded containers are available for purchase in my fitness shop; separately or with a program.
For more tips, support, recipes, meal planning, and other health and wellness assistance, please apply here by completing my get support form!
 DETAILS ABOUT THE MILITARY DISCOUNT


![IMG_5821[1]](https://llhealthyfit.com/wp-content/uploads/2016/05/img_58211.jpg?w=509&h=509)
![IMG_5832[1]](https://llhealthyfit.com/wp-content/uploads/2016/05/img_58321.jpg?w=509&h=509)
![IMG_5467[1]](https://llhealthyfit.com/wp-content/uploads/2016/05/img_54671.jpg?w=458&h=573)